Intigriti XSS Challenge January 2022
Hello guys I am back. Hope you doing well. So, let’s start talking instead of wasting our time.

This is the challenge description. Let’s access to the given URL.
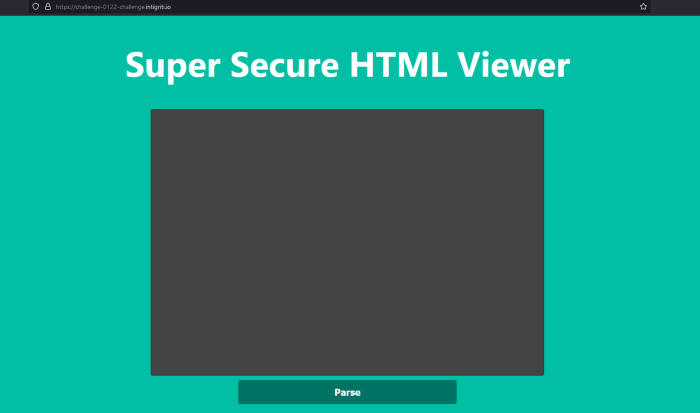
There’s some text input. When I typed ‘rootjkqsta’ it renders the HTML and we have the input in a query parameter. Btw it doesn’t supports <script> tag if you take a look in DOM you will see the tag is not rendered and there must be some filtering going on.
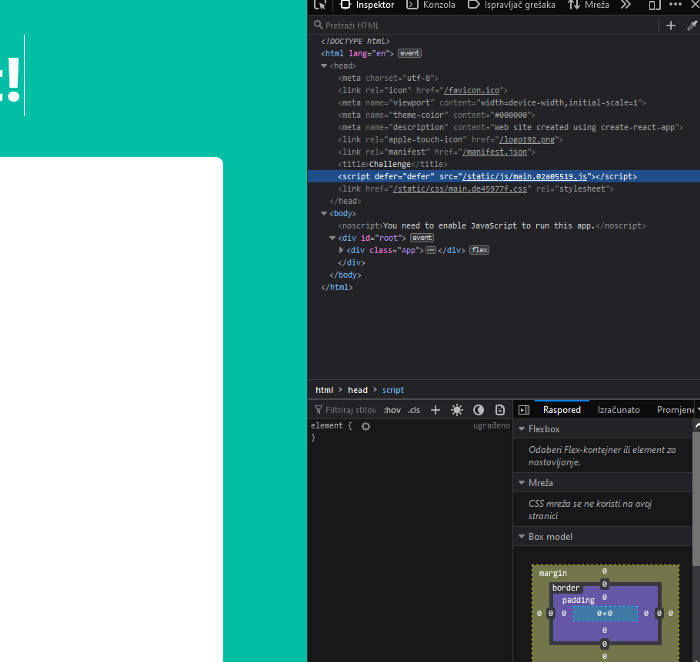
So in source of the page we can see there’s one JS file being loaded. Let’s open it. So the first line contains a file name for the license information of used packages.
/*! For license information please see main.02a05519.js.LICENSE.txt */
Lets open the file and take a look at the packages used in the app.
We can notice that app is built in React and It’s using DOMPurify 2.3.4. Also the last line in the minified JS bundle tells us that there’s a source map. Let’s take a look in the dev-tools.
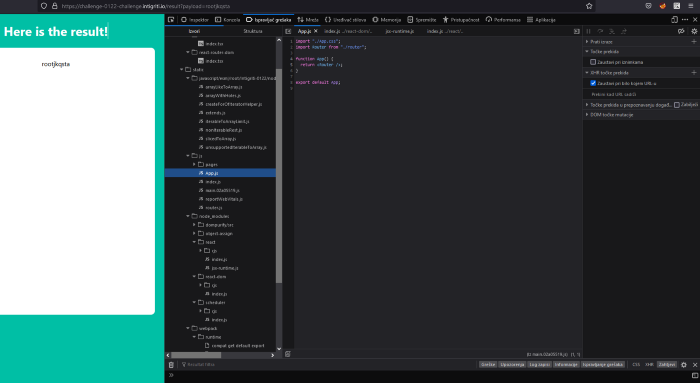
App.js and index.js are some boilerplate code for the app. Let’s take a look at the routes.js file.
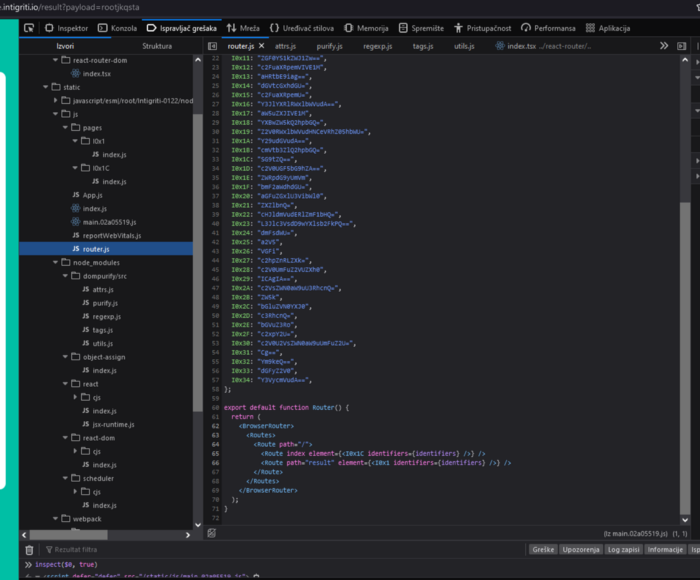
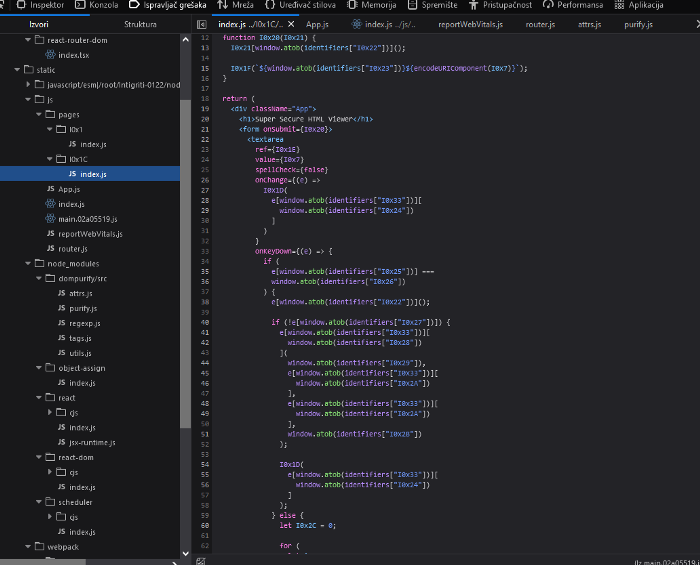
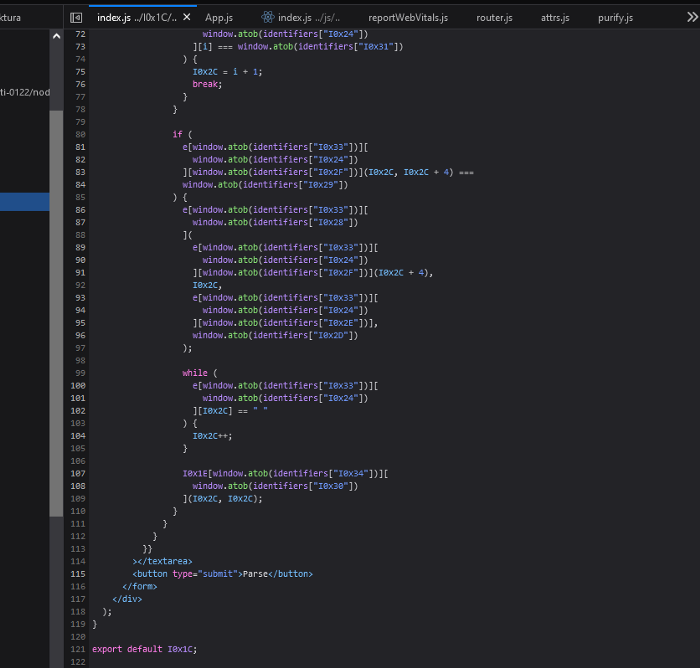
It contains some mysterious and well interesting values. I think we will need to base64 decode them but we will comeback to this. But in the pages folder we can find the two pages we came across, the input page and the result page.
Input Page
Result Page
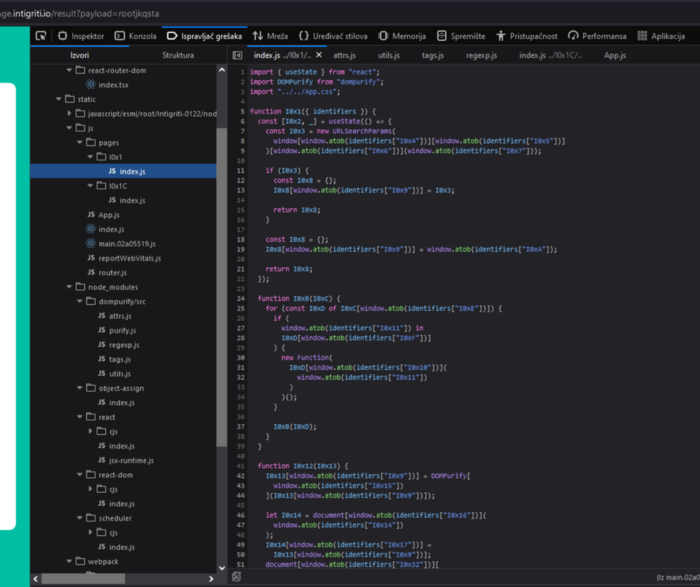
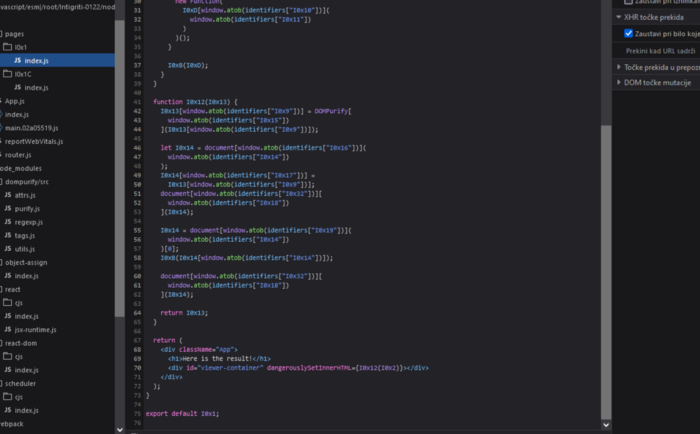
So it seems like there’s some kind of obfuscated code using the values that we found in router.js file. At the end of the result page we can see the use of dangerouslySetInnerHTML
Now deobfuscation comes. So we can finally decode base64 encoded values in router.js file, and it’s like this:
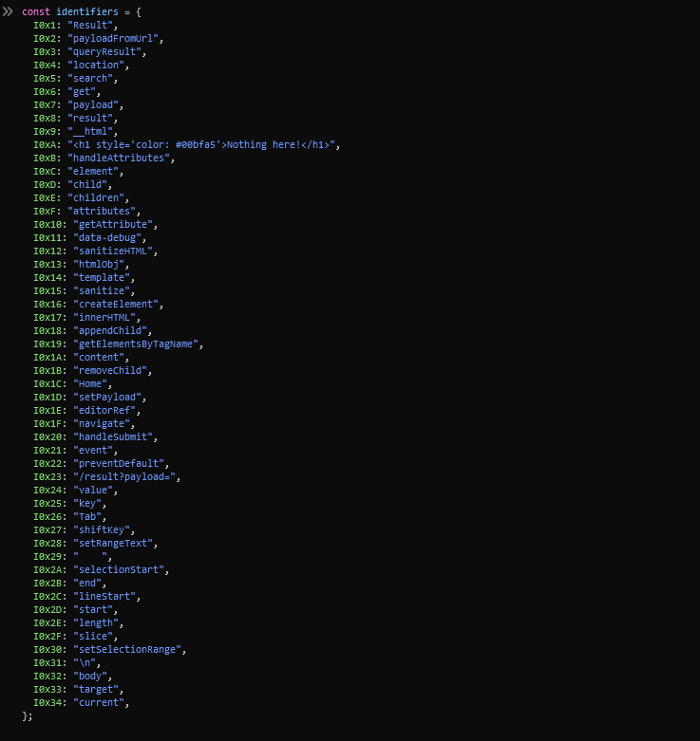
So this means that we can use the decoded values in the obfuscated code. Let’s replace all window.atob(identifiers["I0xNN"]) calls in the result page. And it’s gonna look like this.
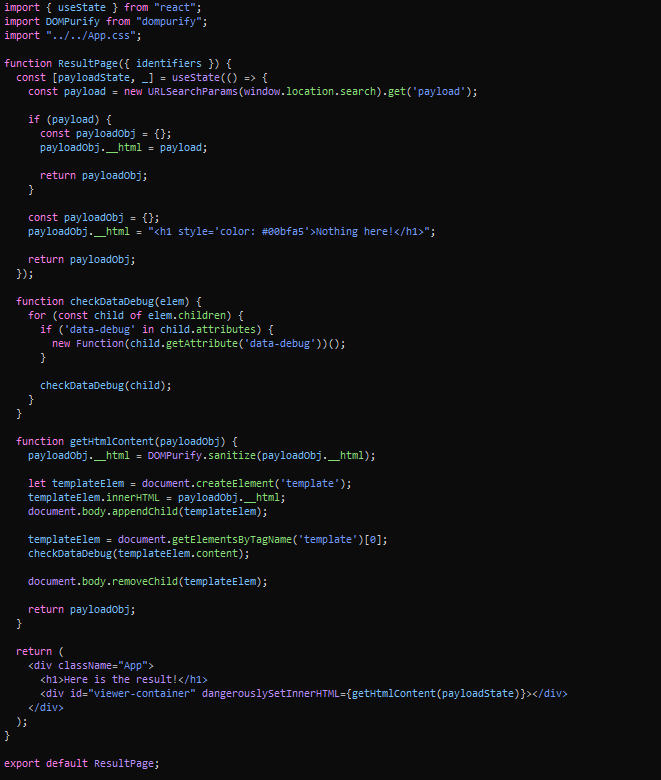
Now exploitation comes which is great. When we start doing source code analysis we can notice that component sets the inner HTML of the div using dangerouslySetInnerHTML with the result of getHtmlContent with payloadState as the argument. Let’s see what payloadState really is.
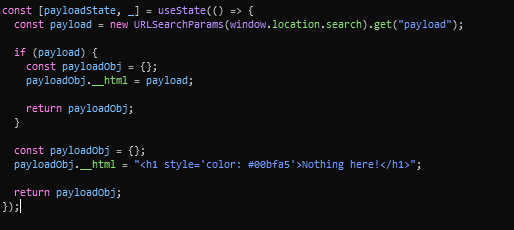
From this code we can see that the payloadState constant is an object with an __html property, which is set to the value provided by the payload parameter. If there’s no payload parameter the __html property is set to a default h1 element. So we know how the input to the getHtmlContent function is generated, let’s take a look at the function.
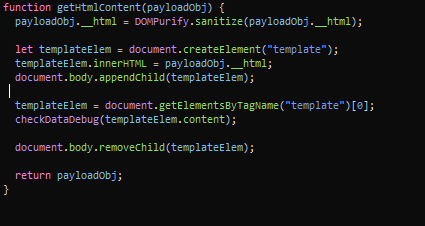
So this function first sanitizes the input from the payload parameter, then creates a template element with the contents of the sanitized input and appends it to the body element. Then the function checkDataDebug is called using the content of the newly created element. So the element is removed from the DOM and finally the sanitized input object is returned. Let’s take a look at the checkDataDebug function.
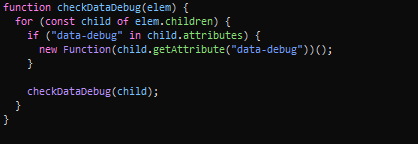
Here we can see that the function iterates over each child element of the template element provided from the getHtmlContent function, and if a element has the attribute data-debug it uses the value of the attribute to create a new Function object and immediately calling the Function object. Let’s take a look at the examples in the documentation for the Function constructor. So we can find out that it takes a string as the function body and optional strings as argument names. Now we are able to create a payload that will execute arbitrary JavaScript using the data-debug attribute. Let’s try with the following payload: <p data-debug="alert(document.domain)"></p>. Now let’s submit it and trigger it.
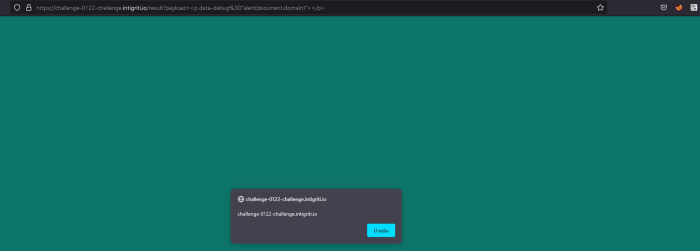
And it worked.
README.md
Hope you guys enjoyed this writeup, hope you learned something, take a care and see you in a next one.
Last updated
